Blueprint Interactions & Workflows
Ludus AI integrates directly with the Unreal Engine Editor to analyze, generate, and edit Blueprints in real-time. This deep integration allows for rapid prototyping and seamless translation between C++ and visual scripting.
These features work with both Agent Lite (faster, cheaper) and Agent (better for complex tasks) modes. Both modes share the same context awareness capabilities.
Note: Blueprint Generation and Editing require a Pro or Enterprise plan (or Trial). Indie plan users have access to Blueprint Analysis only.
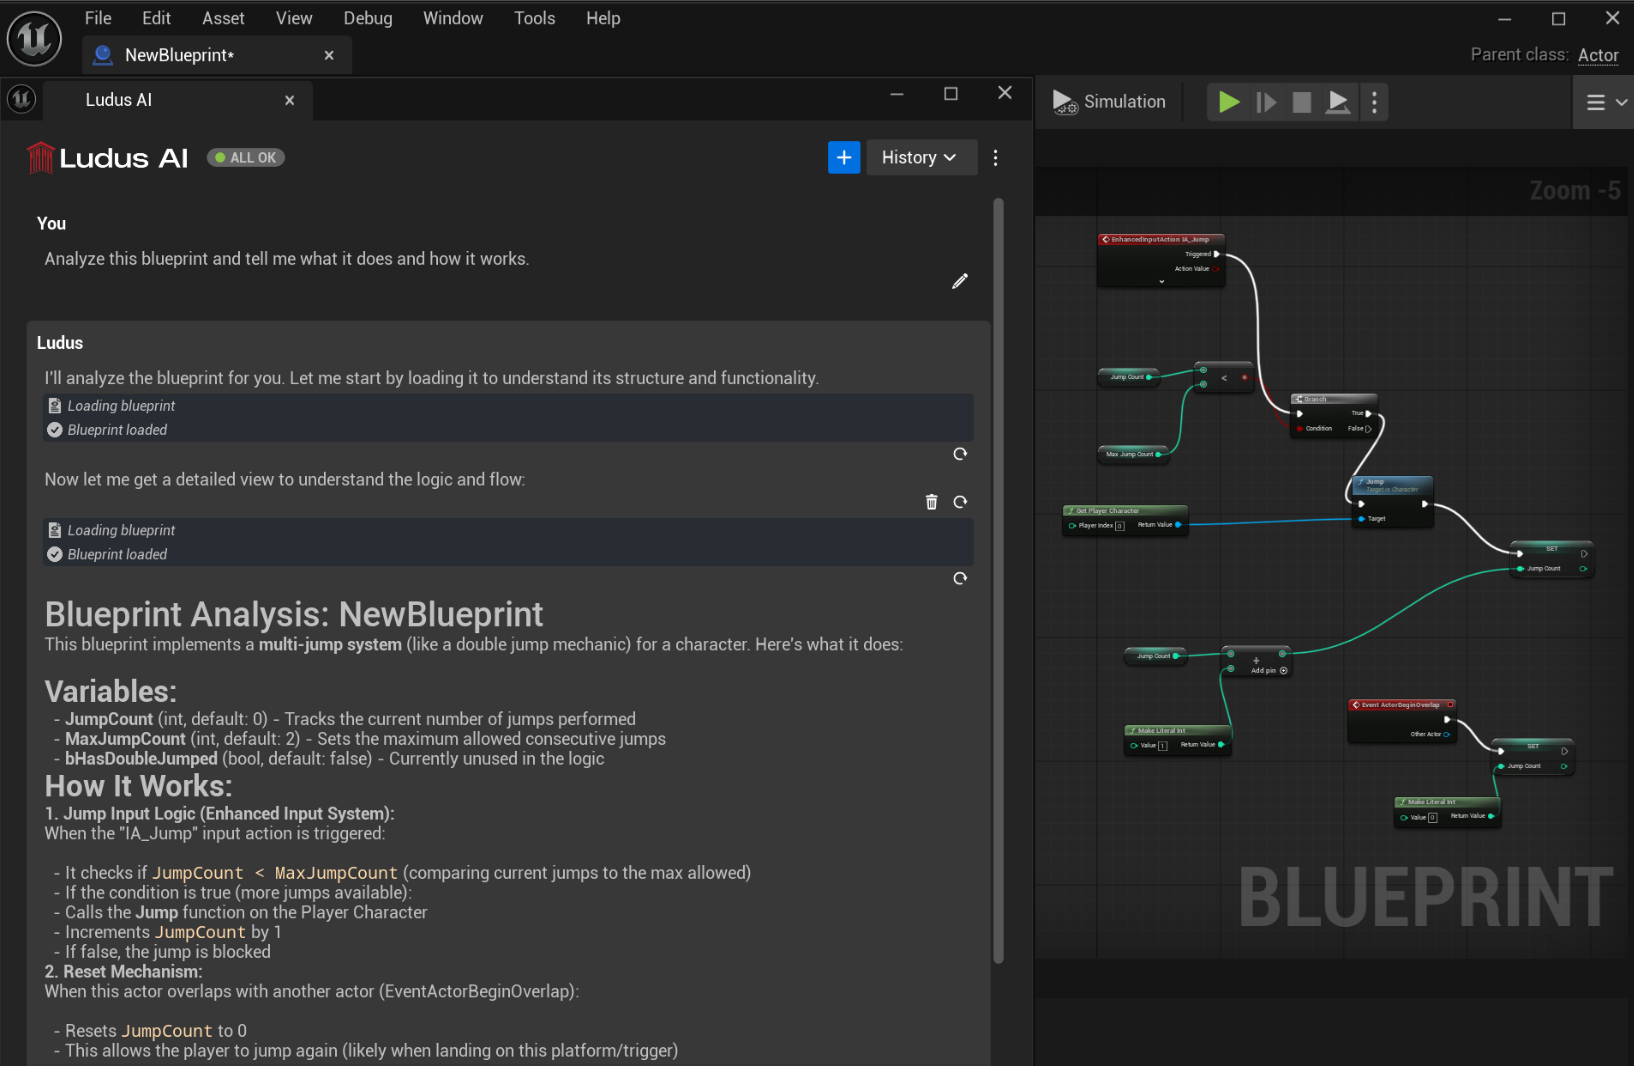
Analyzing Blueprints
Ludus can read the currently open Blueprint graph to understand its logic, context, and structure. This is useful for documenting legacy code, understanding complex systems, or debugging logic flows.
Availability: All paid plans (Indie, Pro, Enterprise) and Trial.
Workflow:
1. Open the Blueprint you want to analyze in the Unreal Engine Editor.
2. Open the Ludus AI Chat window.
3. Select either Agent Lite or Agent mode.
4. Ask Ludus to analyze the Blueprint or explain a specific section.
Example: "Explain how the movement logic in this Blueprint works."
Example: "Analyze this graph and tell me if there are any potential performance bottlenecks."
5. Output: Ludus will provide a detailed textual analysis or answer your specific question in the chat window.
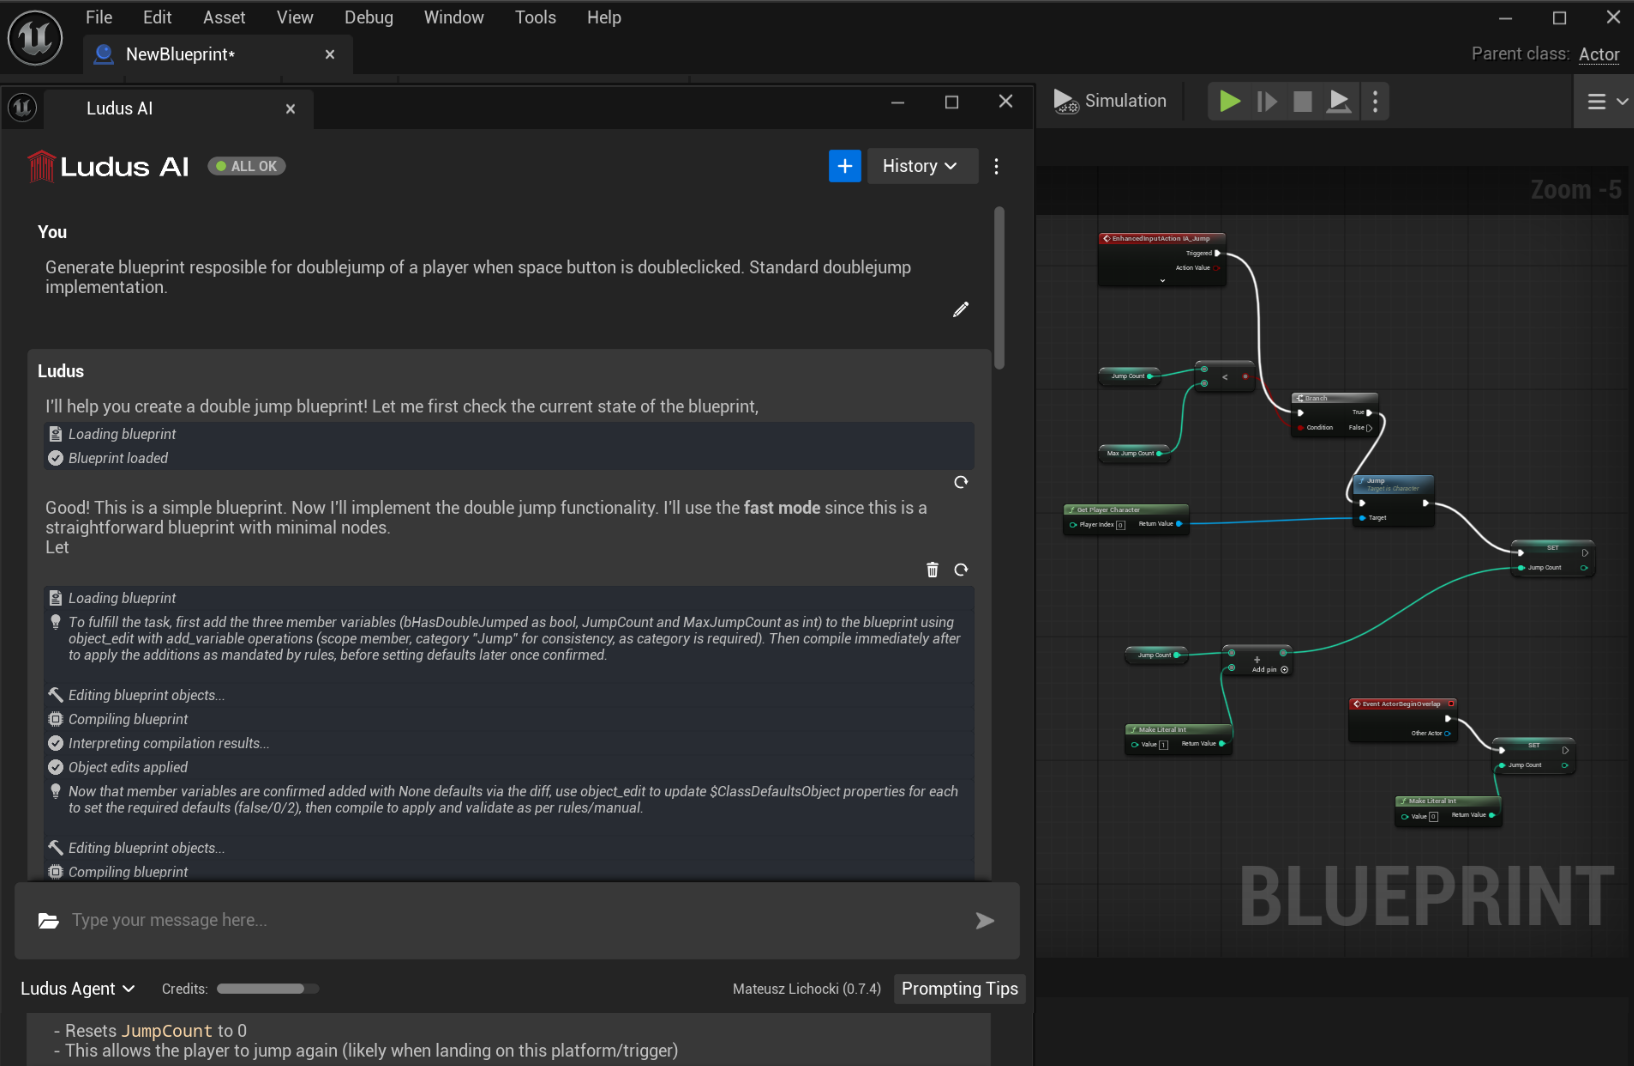
Generating Blueprints from Scratch
You can populate empty Blueprints with functional logic using natural language prompts. Ludus spawns and connects nodes in real-time.
Availability: Pro and Enterprise plans (and Trial) only.
Workflow:
1. Create a new, empty Blueprint Asset (or open a blank one) in your project.
2. Ensure the Blueprint graph is open and focused.
3. In chat, select Agent Lite (faster) or Agent (better for complex tasks) and describe the functionality you want to create.
Example: "Create a basic character movement system with sprint and double jump."
4. Output: Ludus will begin spawning nodes, setting properties, and connecting wires directly in your graph. Watch the logic build itself in real-time.
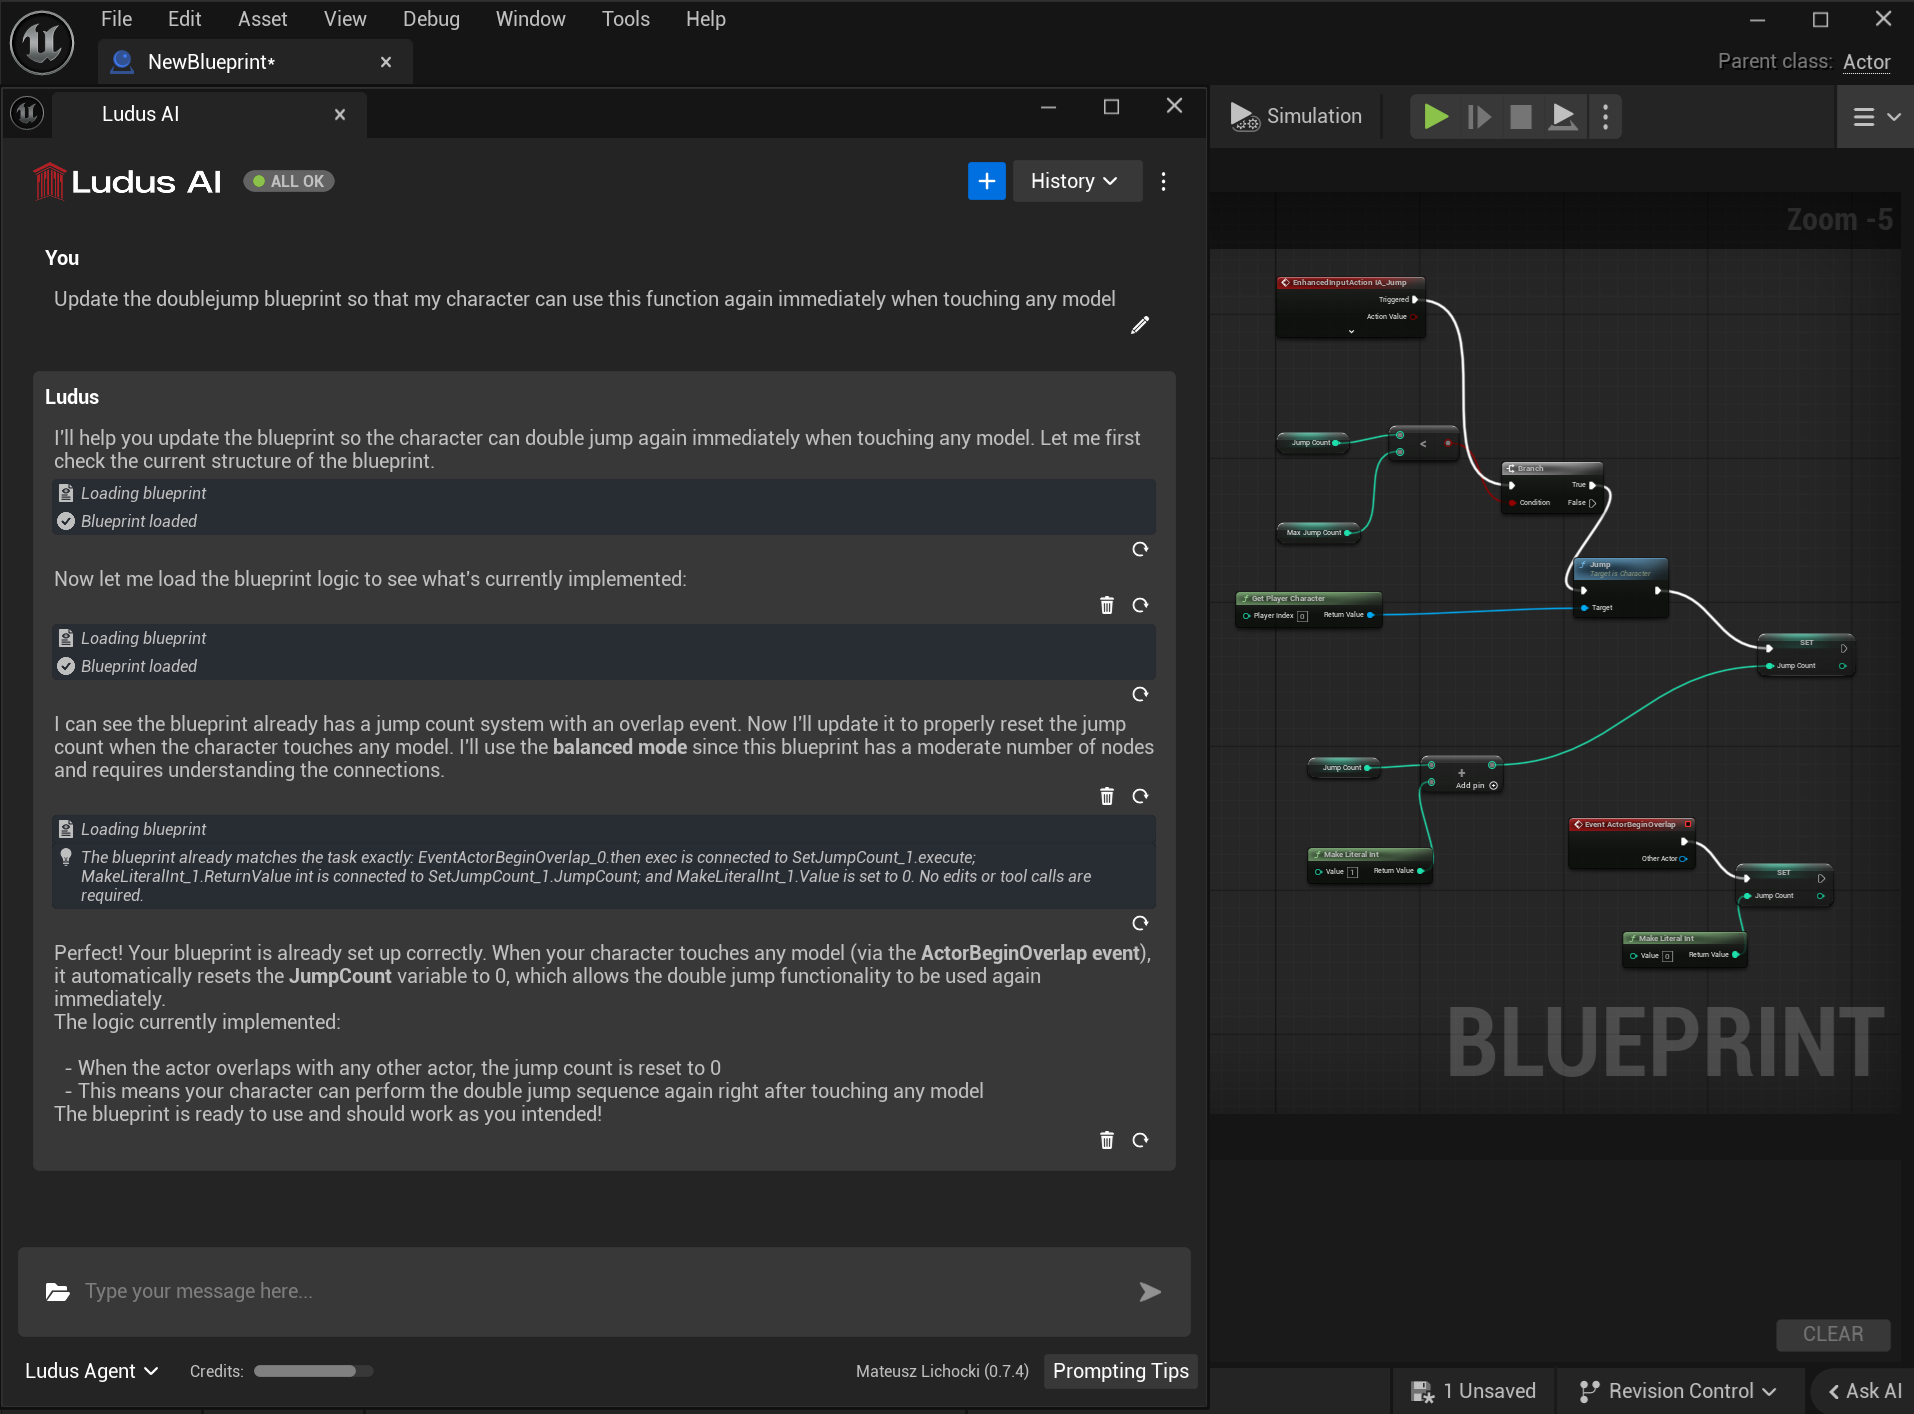
Editing Existing Blueprints
Ludus can modify existing logic to add features, tweak parameters, or refactor sections of your graph.
Availability: Pro and Enterprise plans (and Trial) only.
Workflow:
1. Open the existing Blueprint you wish to modify.
2. In the Ludus Chat, describe the specific changes you want to make.
3. Output: Ludus will modify the relevant nodes in real-time.
Pro Tip: Precision is Key
When editing existing complex Blueprints, be very specific in your prompt. Explicitly state what should be changed and, if necessary, what should remain untouched.
Good Prompt: "Update the 'Fire Weapon' event to consume 5 ammo instead of 1, but keep the sound effect logic exactly as it is."
Bad Prompt: "Fix the shooting." (This might lead to unwanted restructuring).
Converting Between C++ and Blueprints
Ludus bridges the gap between scripting methods, allowing you to move logic between C++ and Blueprints easily.
Availability: Pro and Enterprise plans (and Trial) only.
Blueprint to C++
Convert visual logic into optimized C++ code.
1. Open the Blueprint you want to convert.
2. Ask Ludus: "Convert this Blueprint logic into C++ code. Include header and .cpp code if applicable."
3. Output: Ludus will generate the corresponding C++ header (.h) and source (.cpp) code (if applicable) directly in the chat window. You can then copy and paste this code into your IDE.
C++ to Blueprint
Rapidly prototype C++ logic visually.
1. Open the target Blueprint where you want the logic to appear.
2. Paste your C++ snippet into the Ludus Chat.
3. Prompt: "Convert this C++ code into Blueprint nodes."
4. Output: Ludus will interpret the code and generate the equivalent node structure in your open Blueprint graph.
