👋Quick Start
Sign-up and Log in
The first login is also the registration process. Select the registration method that works best for you. You can sign up using Google, GitHub, or Discord. Keep in mind that you will need to use the same provider for future logins, so make sure you choose an account you can easily access.
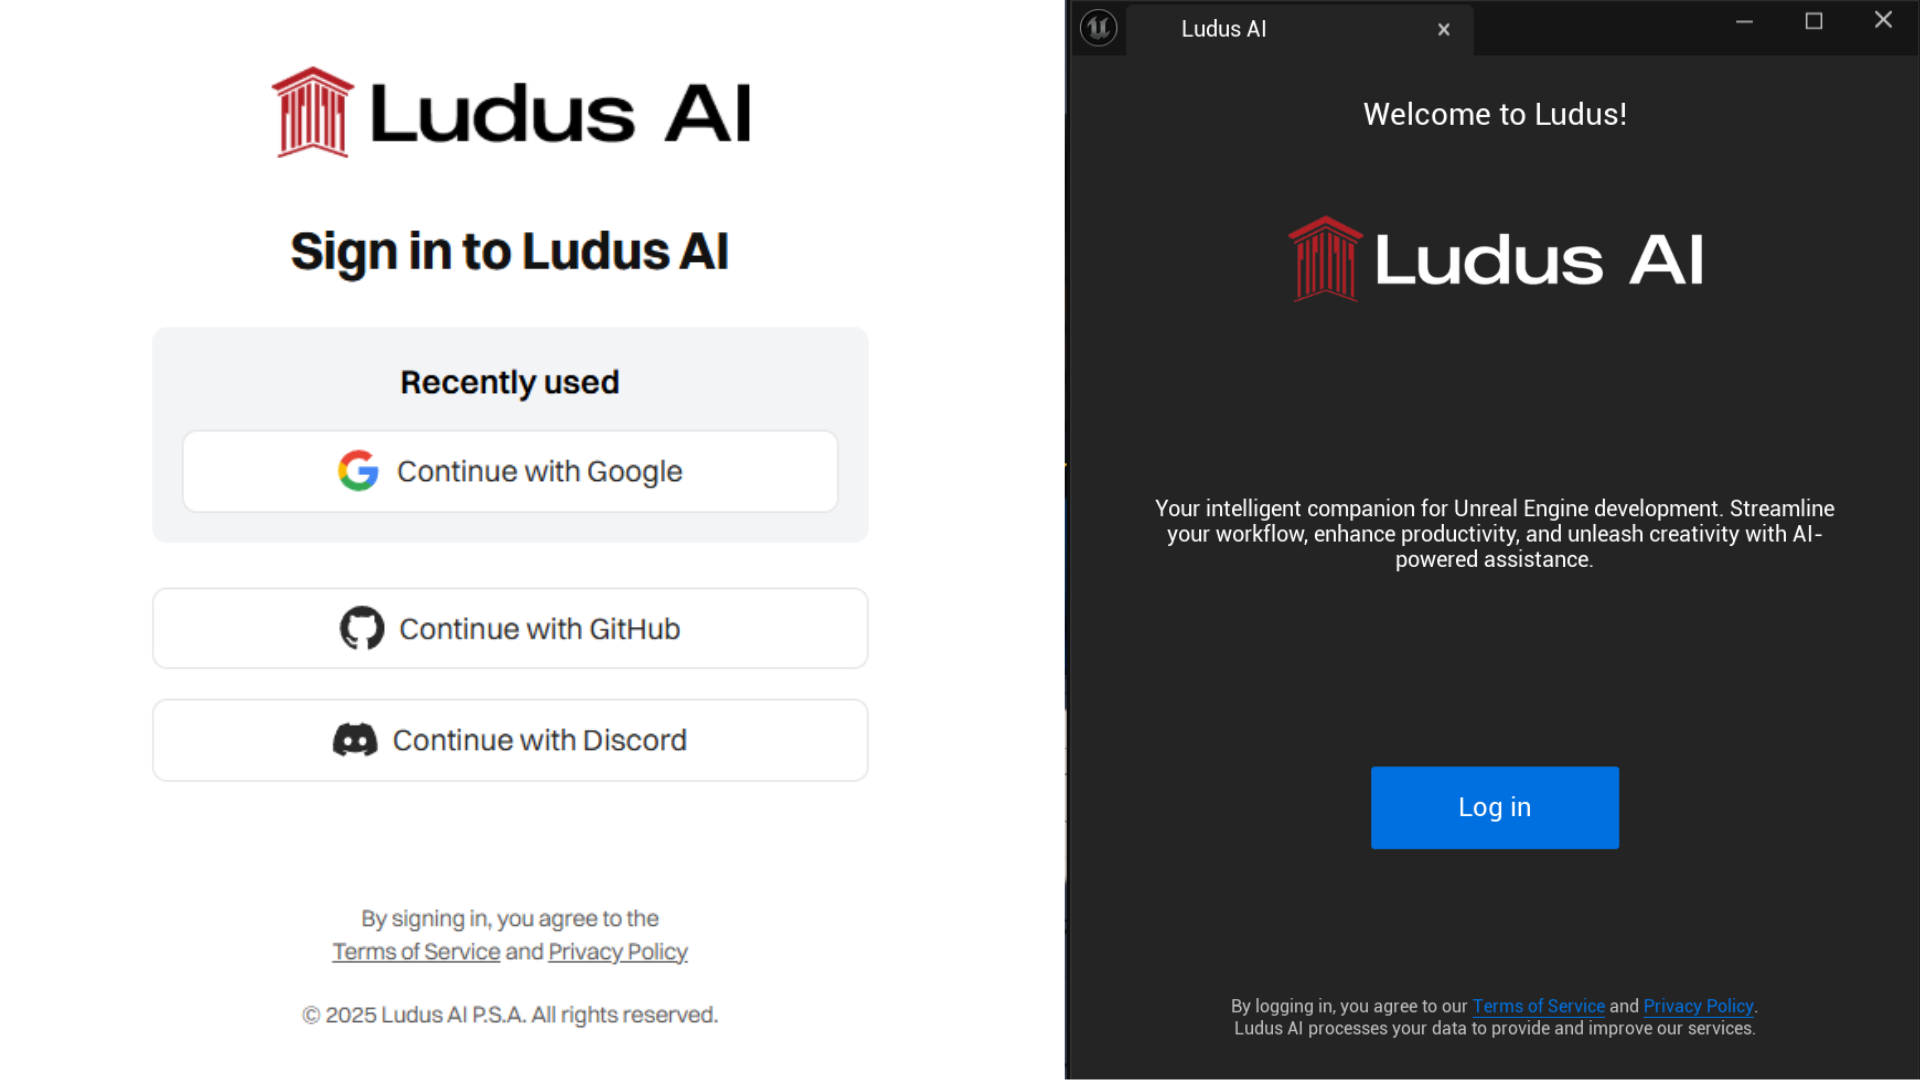
Important note: If your account was created before April 19, 2025 - select the GitHub login option. At that time, this was the only registration option. We don't have the option to change our login provider.
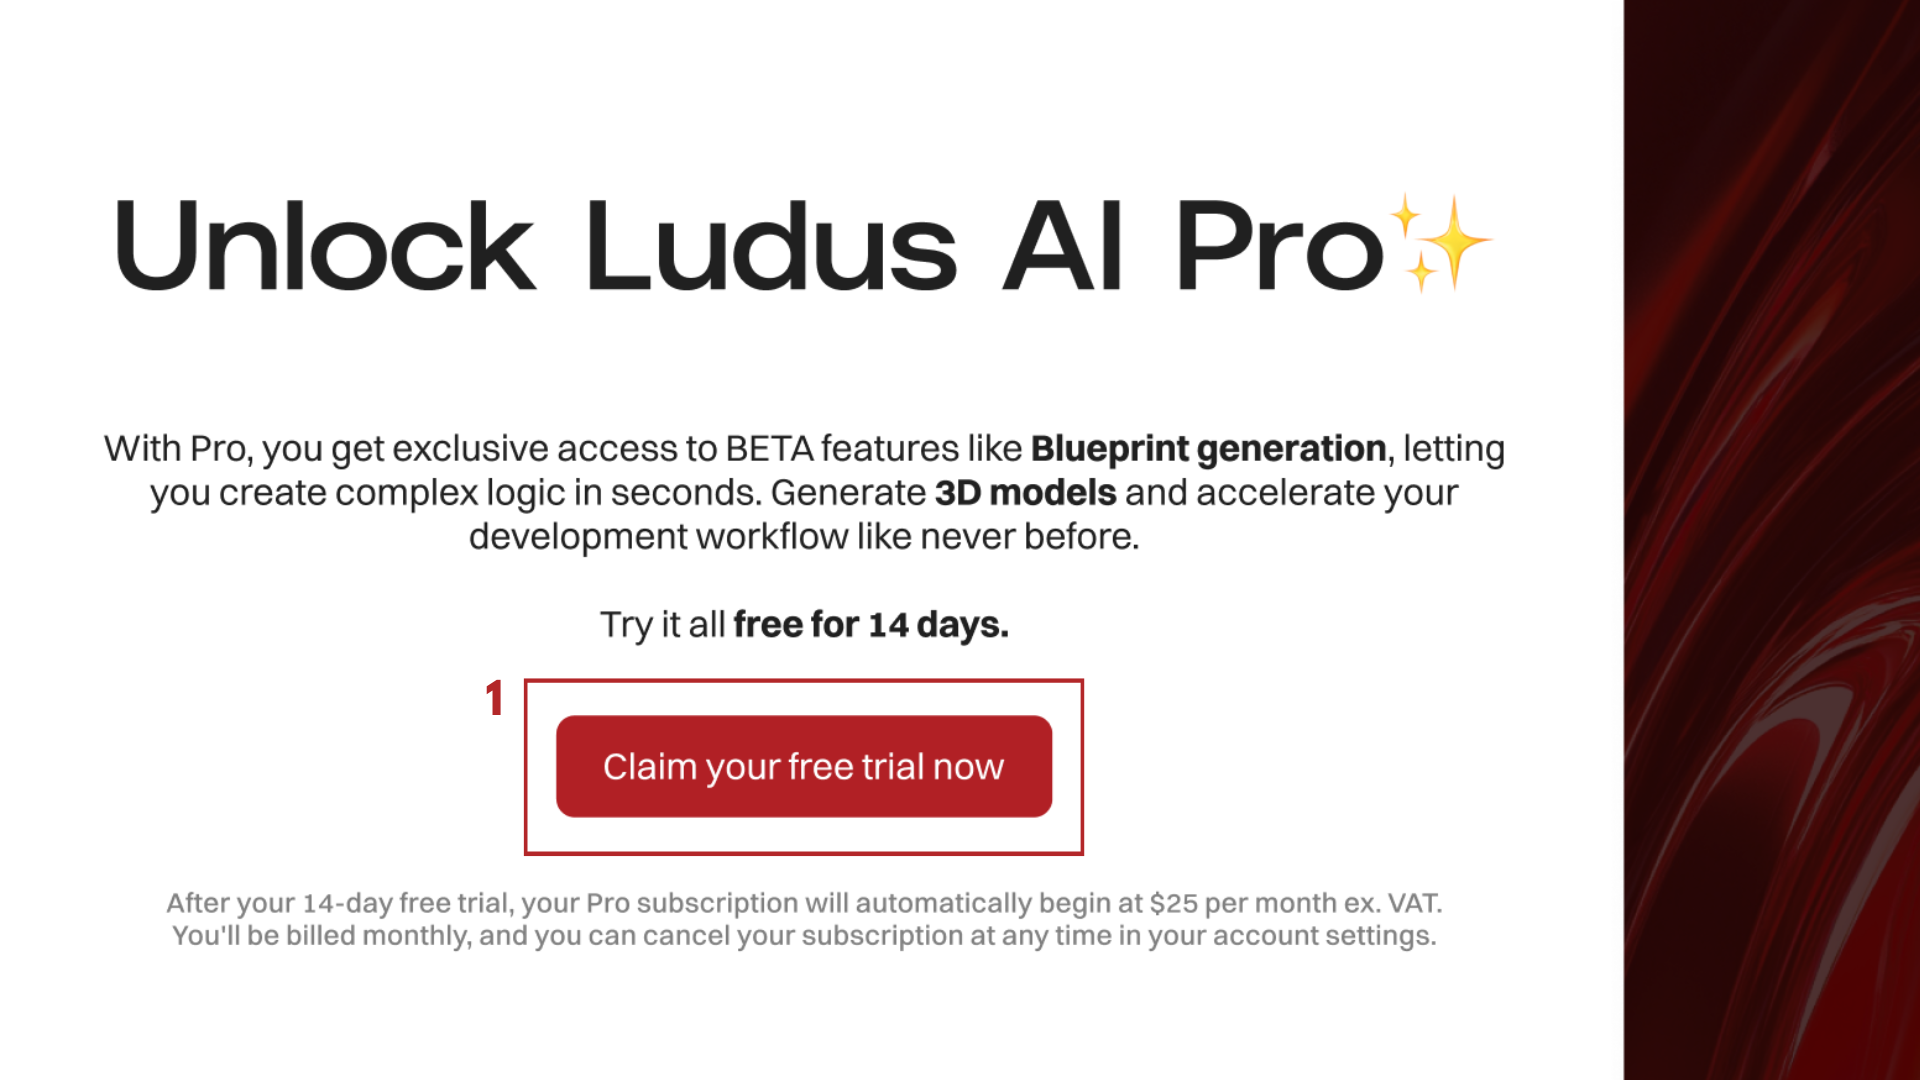
Activate the features
Activate a trial or a plan that suits your needs from popup or in the Billing tab to gain access to all Ludus AI features.

Plugin installation guide
The Ludus AI plugin is essential for unlocking the full agentic capabilities of the platform. To ensure optimal performance and access to the latest features, always download and use the most recent version of the plugin.
-
Log in to app.ludusengine.com
-
Choose latest plugin version
-
Choose your UE version
-
Download Ludus AI plugin
-
Open the downloaded file and unpack it
-
Move Ludus AI to the Marketplace folder at:
ENGINE_FOLDER/Engine/Plugins/MarketplaceBy default on Windows:
C:\Program Files\Epic Games\UE_(your engine version)\Engine\Plugins\MarketplaceNote: If you don't have a
Marketplacefolder - create it. -
Open Unreal Engine
-
Open Edit → Plugins
-
Find Ludus AI, enable it and restart Unreal Engine
-
Open Tools → Ludus AI
-
Log in and start creating!
Community and Support
You can always find the Ludus AI user community, immediate support, latest updates about the tool and plugin versions on our Discord.
Welcome to the community🤗
![]()